Creating a budget for a painting project can seem like a daunting task, especially for those taking the DIY route. However, with the right approach, it can be a straightforward and enjoyable part of the preparation process. Here’s a detailed guide to help you budget for your painting project like a pro:

Understanding the Scope:
The first step in budgeting for a painting project is to fully understand the scope of the work ahead.
Project Size and Complexity:
- Start by measuring the area you plan to paint. This will give you a rough idea of the amount of paint needed.
- Assess the complexity of the project. Are there high ceilings, intricate trim, or textured walls that will require special equipment or techniques?
- Identify any repairs that need to be made before painting can begin, such as filling holes or sanding rough areas.
Itemising Costs:
Breaking down the costs into categories will help ensure that nothing is overlooked.
Paint and Primer:
- Different types of paint and primer are suited to different tasks. Research and choose the right products for your project.
- The amount of paint and primer needed will depend on the coverage rates, which can usually be found on the paint cans or company websites. It’s always a good idea to buy a little extra to account for mistakes or additional coats.
Tools and Equipment:
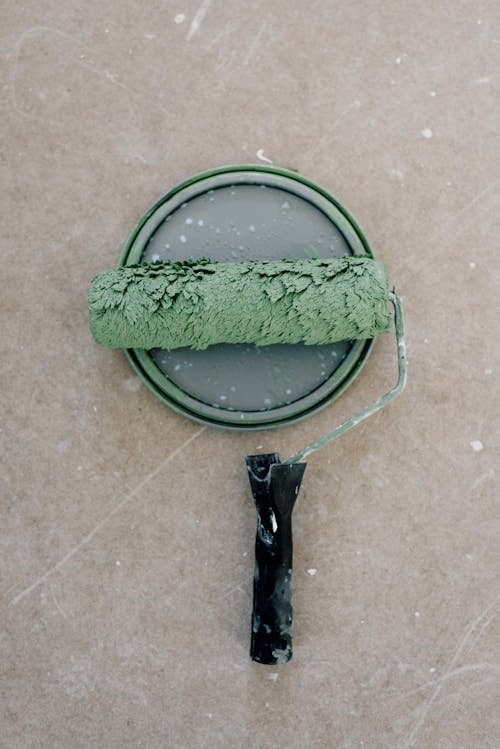
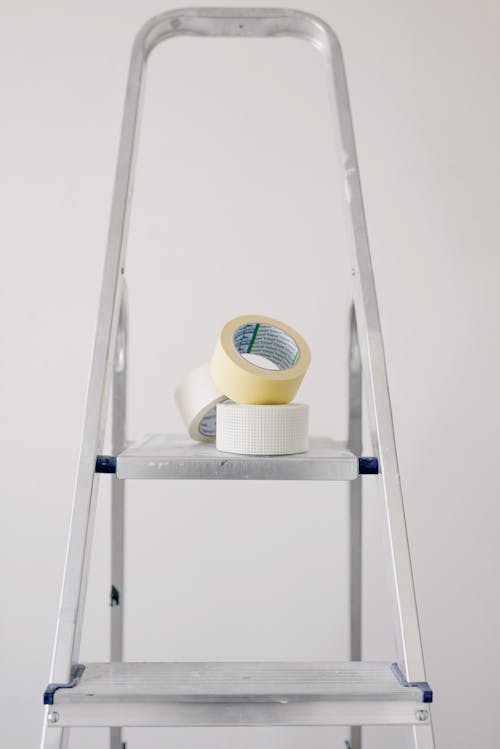
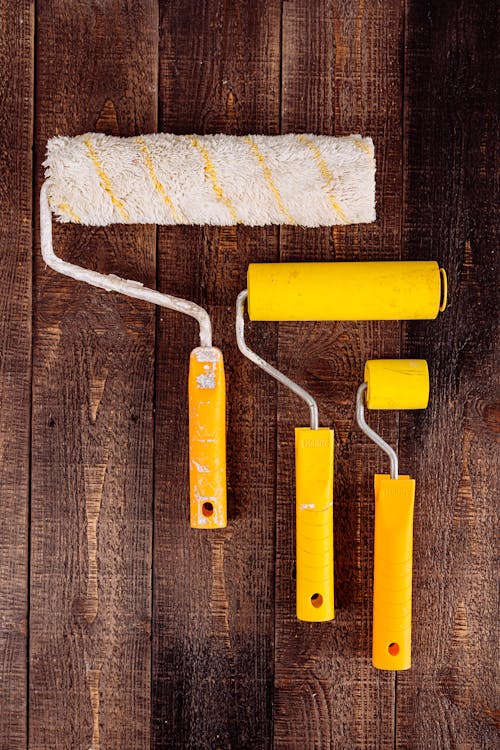
- List the tools you’ll need, such as brushes, rollers, painter’s tape, drop cloths, ladders, and a Rolla-wipa to keep your rollers clean and ready for use.
- Some equipment might be expensive to buy for a one-time project. Consider renting items like paint sprayers or scaffolding to save on costs.
Preparation and Repair Materials:
- Budget for cleaning supplies, patching materials, and sandpaper for surface preparation. A well-prepared surface will ensure a better finish.

Getting Quotes and Comparing Prices:
Price shopping will help you find the best deals and stay within budget.
Shop Around:
- Get quotes from various retailers, and compare prices both in-store and online.
- Look for sales or discounts, especially at local New Zealand stores like Mitre 10 or Bunnings Warehouse. Sometimes, buying during a sale can lead to significant savings.
Bulk Purchases:
- If possible, buy items in bulk to save on per-unit costs. This could be especially beneficial for larger projects.

Allocating Funds for Unexpected Costs:
Every project has unexpected expenses. Planning for them in advance can save a lot of stress later on.
Contingency Fund:
- Set aside a contingency fund of about 10-20% of your total budget for unexpected costs. This could cover anything from additional repair materials to extra paint for touch-ups.
Tracking Your Spending:
Keeping a close eye on your spending will help you stay on track.
Keep Receipts and Monitor Spending:
- Maintain a folder or digital record of all your receipts, and monitor your spending against your budget regularly. This will help you identify if you’re going over budget in any area and make adjustments as needed.
Cost-Saving Tips:
A few smart choices can help stretch your budget further.
Reuse and Recycle:
- Reuse materials like drop cloths and painter’s tape where possible.
- Recycle or sell off unused materials. There might be a local community group or online marketplace where you can sell or give away leftover supplies.
DIY Where Possible:
- Tackle as much of the project on your own to save on labour costs. Enlist the help of friends or family for a more enjoyable painting experience.
Evaluating the Outcome:
Reflecting on your budgeting process and the overall project can provide valuable insights for future projects.
Review the Budget:
- After completing the project, review your budget versus actual spending to understand where you were accurate, where you underestimated costs, and where you overestimated.
Local Price Checking:
The cost of materials and tools can vary significantly in New Zealand compared to other countries.
Local Pricing:
- Be sure to check local pricing and availability of materials and tools. This will help you create a more accurate budget and avoid unexpected costs.
By following these steps, you’ll be well on your way to creating a detailed and realistic budget for your painting project. Remember, good preparation is key to a successful project, and that includes financial preparation. Plus, understanding the costs involved will help you make informed decisions about which tools to invest in, like the Rolla-wipa, which can significantly streamline the painting process, making your DIY project a more enjoyable experience.
